Logo Quality
April 15, 2024
Logo Quality
Enhancing a client's logo quality is crucial for a professional image and effective brand presentation on their website. A high-quality logo creates a positive first impression, essential for website credibility, and ensures brand consistency across platforms.
Assess the quality of the logo — does it appear pixelated or blurred? If so:
- Confirm if the logo's dimensions on the page exceed its intended height and width.
- Verify if a higher-resolution logo is available for use:
- Search for a High-Quality Logo:
- Conduct a Google Image search using the name of the business (NOB) or "NOB logo" to locate a better-quality version of the logo. Use the "Tools" under the Google search bar, then "Size," and select "Large" to filter for high-resolution images.
- Evaluate Available Logos:
- Compare any logos you find with the one provided by the client, ensuring they match in style, color, fonts, and overall design. Only choose a logo that is identical to the one provided.
- Handling Additional Elements:
- If the high-quality logo includes additional elements not part of the original logo (like a phone number or tagline), see if these can be easily cropped out without compromising the logo’s integrity. Use graphic design software for precise cropping.
- Replace the Logo on the Website:
- Update the website with the new, high-quality logo, ensuring it aligns with the site’s design standards. Replace both the main and mobile versions of the logo to maintain consistency across all devices.
By following these steps, you can enhance the client's website design, contributing positively to their brand's online presence.


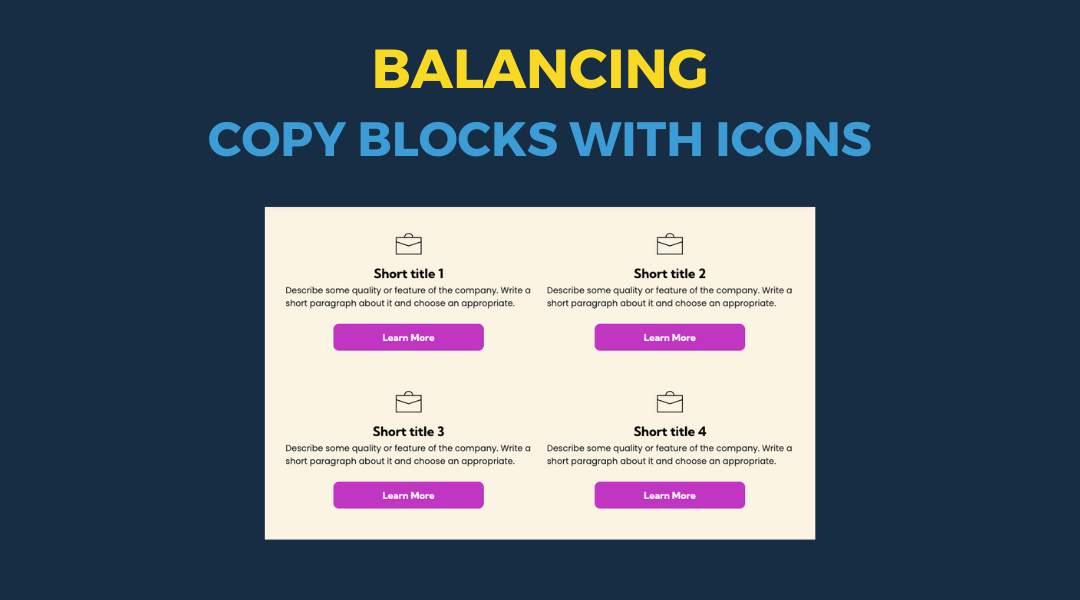
All icon-based copy block sections should maintain a balanced, consistent appearance. If the total number of blocks leaves an incomplete final row, adjust the layout so the section still looks intentional and visually even.
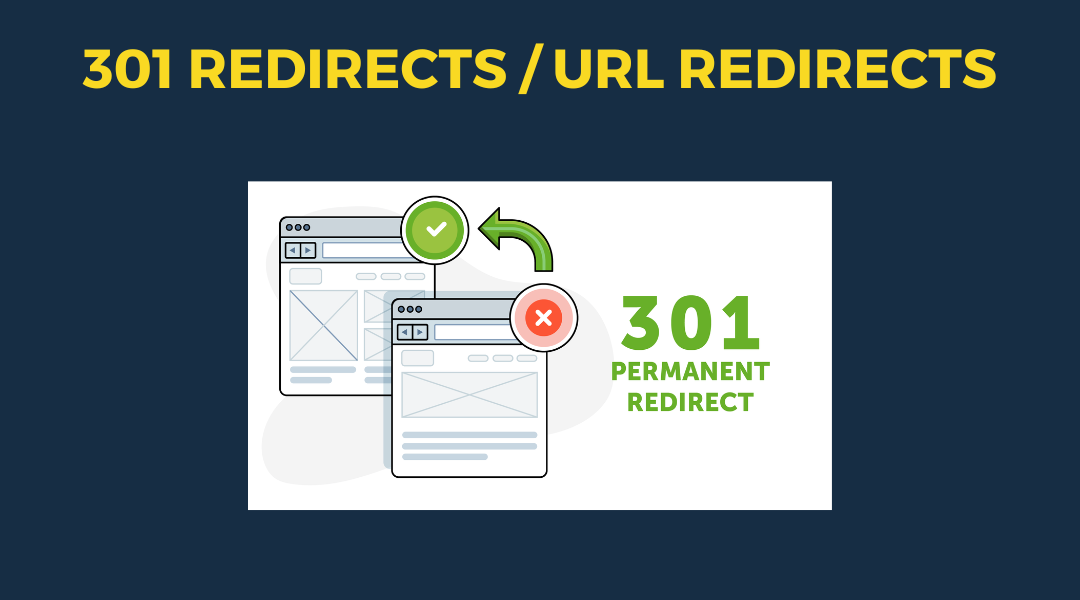
A 301 redirect: guiding web traffic to a new destination with a permanent, virtual "follow me" sign.
This Post has moved to The Hibu One Spec Site
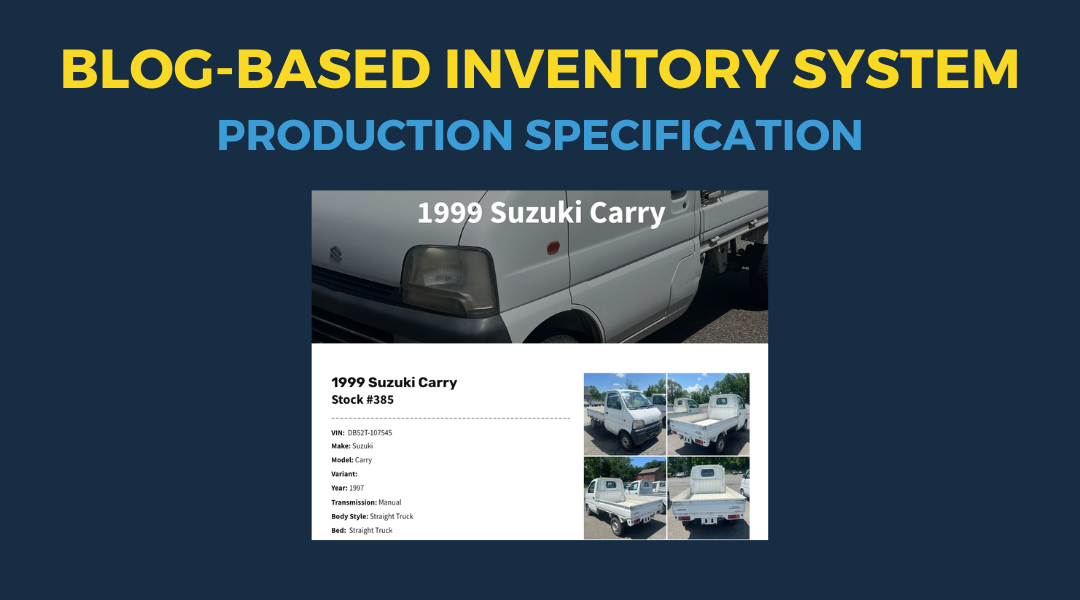
This setup provides clients with a lightweight, SEO-optimized, scalable way to showcase inventory using the blog feature. It requires design discipline, metadata precision, and clear client education to function effectively. Restores client-side flexibility after the removal of manual page creation capabilities