Client Provided Privacy Policies
October 28, 2024
Client Privacy Policy Update Process
This guide outlines the process for updating client websites with their own privacy policies, particularly when they're working with third-party digital marketing services for data collection through forms, SMS opt-in, chat, or phone numbers.
Client Request Process
1. Initial Client Request
When a client requests to modify the Hibu privacy policy:
- Inform them that we cannot modify Hibu's existing privacy policy for legal reasons
- Explain that we can replace it with their own privacy policy
- Request them to provide their policy in Word or PDF format
2. Helping Clients Create a Privacy Policy
If clients don't have their own privacy policy:
- Direct them to free Privacy Policy Generators
- Recommend resources like https://www.freeprivacypolicy.com/free-privacy-policy-generator/
- Emphasize these tools are user-friendly and create compliant policies
Implementation Process
3. Initial Build Copywriter/Amend Copy Team Actions
Upon receiving the client's privacy policy:
- Create new webpage using the thin hero design template
- Technical specifications:
- Hide page from navigation
- Enable No Index setting
- Set title tag as "Privacy Policy | [NOB]"
- Use meta description: "Protect your personal information with [NOB]'s privacy policy. Learn how we collect, use, and safeguard your data to ensure your privacy."
3. Copywriter/Amend Copy follows link below for policy to be added to footer.
4. Footer Update Process
After page creation:
- Follow this link to contact Escalations team requesting the Hibu standard Privacy Policy footer text be replaced with a link to the newly created Privacy Policy page via Copyright Widget
- Via the Copyright Widget the Escalations designer will:
- Replace "Company Name" with "Privacy Policy"
- Hyperlink to new privacy policy page
- Center alignment
- 9pt font size
- Final display: "All Rights Reserved | Privacy Policy"
Important Notes
- Never modify Hibu's existing privacy policy
- Always ensure client provides their policy in Word or PDF format
- Privacy policy page must remain hidden from navigation
- Do not proceed with third-party tool implementation until new privacy policy is in place
- CC the originator of the request (e.g. DSC, Sales, Client) on the "Changes Complete" email
QA
Before completing the process, verify:
- Privacy policy page is created correctly
- Verify Meta is complete
- No Index is enabled
- Footer updates are implemented properly
- Hyperlink to privacy policy works
- Font size and centering are correct on all devices
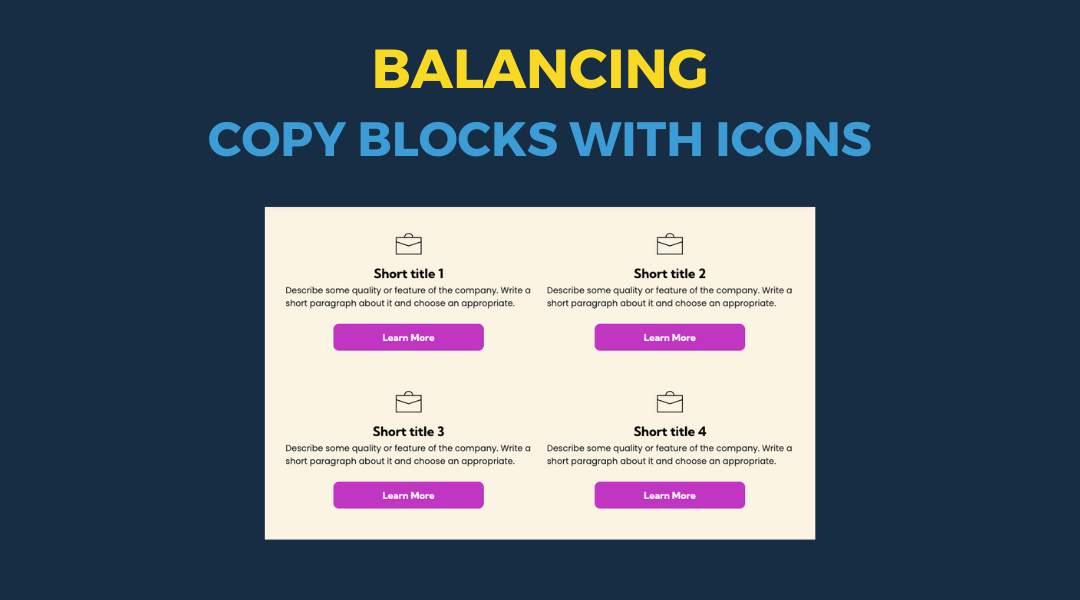
All icon-based copy block sections should maintain a balanced, consistent appearance. If the total number of blocks leaves an incomplete final row, adjust the layout so the section still looks intentional and visually even.
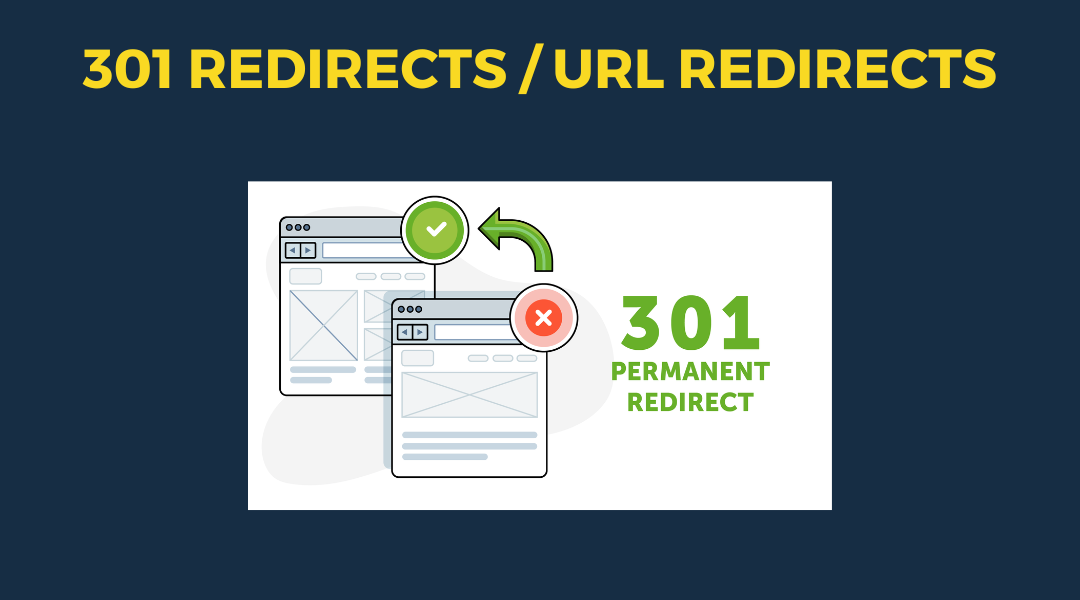
A 301 redirect: guiding web traffic to a new destination with a permanent, virtual "follow me" sign.
This Post has moved to The Hibu One Spec Site

This setup provides clients with a lightweight, SEO-optimized, scalable way to showcase inventory using the blog feature. It requires design discipline, metadata precision, and clear client education to function effectively. Restores client-side flexibility after the removal of manual page creation capabilities