Editor 2.0 - Size and Units
April 9, 2025
Editor 2.0 - Size and Units
In this section, you’ll learn how to control the size of elements using different types of units in Editor 2.0. We’ll break down how viewport width (vw) and height (vh) respond to the browser window, how the
auto
unit allows containers to resize based on their content, and how min/max values help you keep your elements within practical size limits. Together, these tools give you greater control over how your site adapts across devices—without relying on fixed pixel values.
What is a View Point?
Key Takeaways
- Why This Matters During Site Builds
- Viewport-based units like vw (viewport width) and vh (viewport height) are often used for responsive design
- To use them correctly, you need to understand what a viewport actually is
- What Is the Viewport?
- The viewport = the visible area of your browser where your site is displayed
- It excludes browser UI like tabs, bookmarks, and the address bar
- It’s the space your website actually renders in
- How to Check Your Viewport Size
- Visit a tool like whatsmyviewport.com to see your current dimensions
- Use Developer Tools in your browser:
- Right-click → Inspect (in Chrome)
- Resize your browser window to see live dimensions update
- Look at the top-right corner of Dev Tools for exact numbers
- Zoom Impacts Viewport
- If you're zoomed in (e.g. 125%), your viewport shrinks
- Always check if you're zoomed in when testing layout and spacing
- Be aware of zoom settings when previewing responsive behavior
- Editor vs. Live Site
- In the Editor, your viewport includes:
- The top bar
- The side panel
- On the live site, these elements are not present
- This can cause layout differences between the Editor and the site preview
- Editing Rules
- Edits made from the main breakpoint get inherited by the tablet and mobile breakpoints
- Rearranging the order of columns at the individual breakpoint level does not affect other breakpoints
- Layout changes applied at the individual breakpoint level become more specific, meaning new layout changes applied at the main breakpoint will be disregarded by the modified breakpoint
Width and Height (VW and VH)
Key Takeaways
- What They Are
- Viewport Width (vw) and Viewport Height (vh) are relative units
- They size elements based on the browser's visible area, not the element’s parent
- 1vw = 1% of the viewport’s width
- 1vh = 1% of the viewport’s height
- How They Compare to Percentages
- A percentage unit references the nearest parent element
- Example: 50% width = 50% of the column it’s in
- A viewport unit references the entire browser window
- Example: 50vw = 50% of the viewport width, regardless of the parent container
- Live Example Recap
- Left Image = 50% width → scales relative to the column
- Right Image = 50vw → scales relative to the viewport
- The right image is larger because the viewport is wider than the column
- Full Bleed Impacts Scaling
- If full bleed is off, the viewport is limited (e.g. to 1200px max)
- If full bleed is on, the content spans the full width of the screen, increasing the scale of elements using vw
- Viewport Height (vh) Behavior
- vh references the height of the visible browser window
- Example: 50vh = 50% of the viewport’s height
- As you shrink or expand the browser vertically, the element resizes
- Height Limitations with Percentages
- Most widgets and layout elements don’t allow percentage-based height
- This is intentional to avoid layout issues
- If height controls are needed:
- Use pixels or
- Use viewport units (vh) for responsive behavior
- Or use auto, which will be covered later
- Editing Rules
- Edits made from the main breakpoint get inherited by the tablet and mobile breakpoints
- Rearranging the order of columns at the individual breakpoint level does not affect other breakpoints
- Layout changes applied at the individual breakpoint level become more specific, meaning new layout changes applied at the main breakpoint will be disregarded by the modified breakpoint
A is For Auto
Key Takeaways
- What Auto Means
- Auto is listed at the bottom of the unit dropdown (denoted by a capital A)
- It tells the element to resize automatically based on its content
- The element will only occupy as much space as it needs to fit what’s inside it
- How It Works
- Example: An inner column set to auto height will shrink or expand to match the height of its widgets
- Auto does not reference a parent element or the viewport
- Instead, it looks inward, at the content inside
- How It Differs from Other Units
- Unlike percentage or viewport units, auto does not calculate size based on external containers
- It calculates based on content only
- Ideal for containers where you don’t want to manually set a fixed size
- When to Use Auto
- Use when you want layout elements (like columns) to wrap tightly around content
- Helps avoid unnecessary space around elements
- Especially useful when working with dynamic or variable content
- Editing Rules
- Edits made from the main breakpoint get inherited by the tablet and mobile breakpoints
- Rearranging the order of columns at the individual breakpoint level does not affect other breakpoints
- Layout changes applied at the individual breakpoint level become more specific, meaning new layout changes applied at the main breakpoint will be disregarded by the modified breakpoint
Min and Max
Key Takeaways
- Where to Find It
- Go to the Size property
- Click More Size Options to expand additional settings
- These include:
- Min width / Max width
- Min height / Max height
- Not All Elements Support All Options
- The options you see will depend on the type of element selected
- Example:
- Image widget: Supports both min/max width and height
- Inner column: Only supports min/max width (not height)
- Container elements (like grids, columns) won’t have full sizing control
- What Min and Max Do
- Min values prevent elements from shrinking too small
- Max values prevent elements from growing too large
- These limits help maintain consistent appearance across screen sizes
- When to Use Min/Max
- Ideal for images that scale with browser resizing
- Example:
- Set min width to keep small images readable
- Set max width to prevent low-res images from stretching and getting pixelated
- Live Example Recap
- Beanstalk image:
- Width set to percentage to allow it to resize
- Min width = 180px → never shrinks below this
- Max width = 250px → never grows beyond this
- Height is set to auto, so it adjusts based on width
- Editing Rules
- Edits made from the main breakpoint get inherited by the tablet and mobile breakpoints
- Rearranging the order of columns at the individual breakpoint level does not affect other breakpoints
- Layout changes applied at the individual breakpoint level become more specific, meaning new layout changes applied at the main breakpoint will be disregarded by the modified breakpoint
By Paul Altobelli
•
October 24, 2025
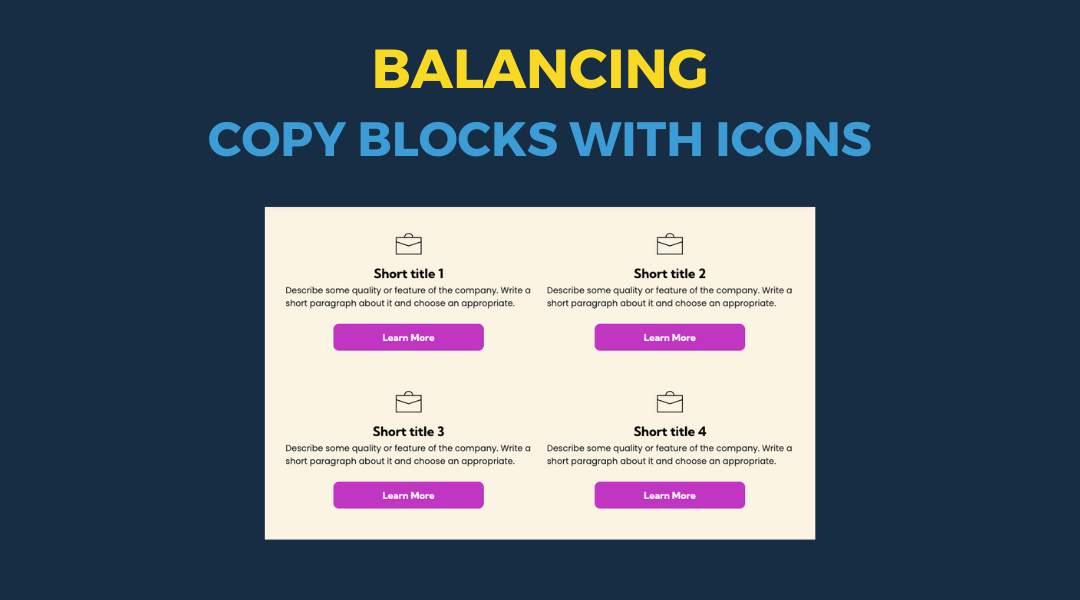
All icon-based copy block sections should maintain a balanced, consistent appearance. If the total number of blocks leaves an incomplete final row, adjust the layout so the section still looks intentional and visually even.
By Paul Altobelli
•
September 26, 2025
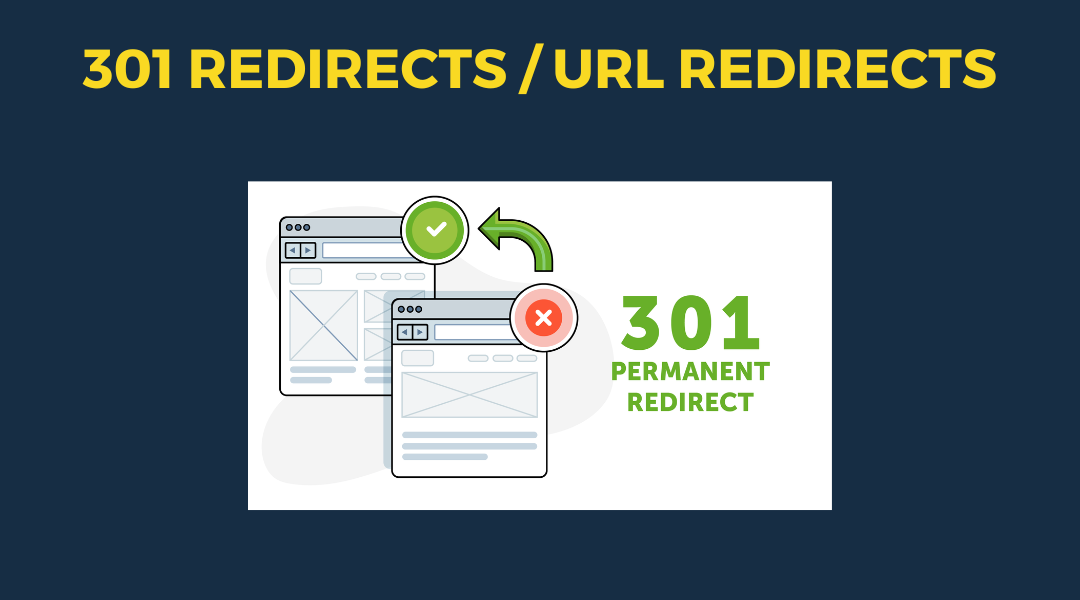
A 301 redirect: guiding web traffic to a new destination with a permanent, virtual "follow me" sign.
By Paul Altobelli
•
July 1, 2025
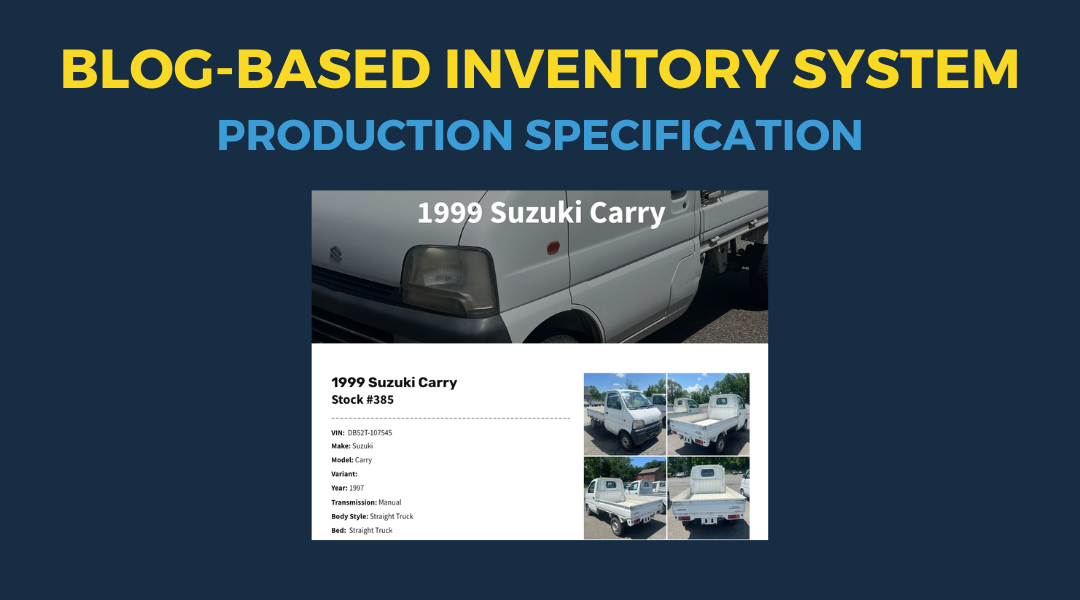
This setup provides clients with a lightweight, SEO-optimized, scalable way to showcase inventory using the blog feature. It requires design discipline, metadata precision, and clear client education to function effectively. Restores client-side flexibility after the removal of manual page creation capabilities