Adding 3rd-Party Code
June 19, 2024
Adding Third-Party Code to Your Website
Adding third-party code to your website can enhance its functionality with features such as tracking, chat, and other customizations. This guide will walk you through the steps to safely and effectively add this code to your site without requiring any coding knowledge.
Steps to Add Third-Party Code
- Before making any changes, it is a good idea to use the
Site Backup Feature to create a backup of your current site. This ensures you can easily revert to the original version if something goes wrong.
- Adding code to the Header HTML Header HTML (<head>) or Body End HTML (</body>)
- In the left panel of your website editor, click on Settings.
- Select Head HTML from the options.
- There are two main sections where you can add the code:
- Body End HTML: This section is for adding custom HTML or JavaScript just before the closing </body> tag of each page on your site.
- NOTE: Unless specifically instructed otherwise, all third-party code should be added to the Body End HTML section. This practice is recommended because:
- Improves Page Load Speed: The main content of the page loads first, enhancing the user experience.
- Reduces Rendering Delays: Ensures the page's content is visible sooner.
- Better Browser Performance: Avoids issues like flickering or layout shifts during the page load.
- Fewer Script Conflicts: Minimizes conflicts with other scripts or styles.
- NOTE: Don't be concerned if the code doesn't appear to work immediately after you add it. Often, the code will function only after you republish.
- Head HTML: This section is for adding content to the head section of your site.
- It's uncommon to add code to this section. Always add it to Body End first. If the code still doesn't work after republishing, then add it to Head HTML.
- Once you've added the code, click
Save.
- Adding Comment Tags
- When adding third-party code, it is helpful to include comment tags to indicate where the code starts and ends. This improves readability and makes future maintenance easier.
- An HTML comment tag consists of three components:
- Opening tag: <!-- Begin Name of Code -->
- 3rd-party code
- Closing tag:
<!-- End Name of Code -->
- Here’s how to do it:
- In Head HTML or Body End HTML add empty rows between <!-- Begin Body End Markup --> and the code that immediately follows it.
- Enter <!-- Begin Name of Code --> (ex <!-- Begin Paul's Chat code -->)
- On next line enter the code
- On next line enter <!-- End Name of Code --> (ex <!-- End Paul's Chat code -->)
- NOTE: It it's necessary to add comment tags when adding code via the HTML Widget.
See this quick demo as an example:
View Walkthrough

Guidance for Adding Third-Party Code to <head>
, </body>
,
or Directly as an HTML Widget
When deciding where to add third-party code in your HTML document, it helps to understand the purpose of the code and its impact on your webpage. Here are some tips to guide you:
- Adding Code to the Head HTML or
<head>Section - When to Use:
- Essential Styles and Scripts: If the code is for styles (CSS) or scripts (JavaScript) that need to be available as soon as the page starts loading, add it to the
<head>. - Critical Setup: Use this section for any script that sets up important configurations or global variables required by the rest of your page.
- Why: Code in the <head> ensures that styles and critical scripts are loaded before the content, preventing layout shifts and ensuring scripts are ready when the content loads.
- Adding Code to the Body end HTML or
</body>Section - When to Use:
- Non-Essential Scripts: If the script enhances functionality but is not critical for the initial page load, place it at the end of the
<body>. - Performance Optimization: Scripts here will load after the main content, improving page load times and user experience
- Why: Placing scripts at the end ensures that your main content loads first, making the page usable sooner for visitors.
- NOTE: Unless specifically instructed otherwise, all third-party code should be added to the Body End HTML section.
- Using an HTML Widget Directly in the Page
- When to Use:
- Interactive Elements: When you need to place interactive elements or widgets at specific locations within your page content.
- Precise Layout Control: When the widget needs to be part of the content flow and interact directly with other page elements.
- Why: Directly embedding widgets allows them to be positioned exactly where they are needed, ensuring a seamless user experience.
- Examples
- Embedded YouTube Video
- Google Maps Embed
- Facebook Page Plugin
- Twitter Embedded Tweet
- Instagram Post Embed
- SoundCloud Audio Embed
- Spotify Playlist Embed
- Vimeo Video Embed
- Chat widget
- BBB Logo
Remember
- Hibu will not activate, set-up account, generate, or "grab" 3rd party integration code / snippets on behalf of client.
- Hibu will not debug issues with client-supplied 3rd party HTML snippets
- All 3rd party codes will not be maintained or supported by Hibu
- Clients should contact the 3rd party with any issues
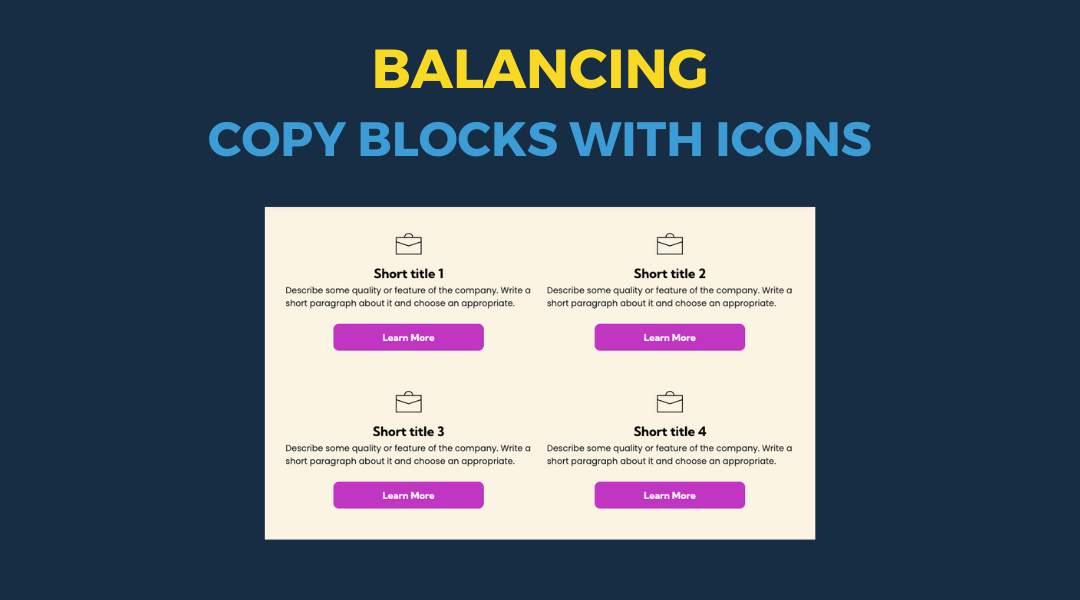
All icon-based copy block sections should maintain a balanced, consistent appearance. If the total number of blocks leaves an incomplete final row, adjust the layout so the section still looks intentional and visually even.
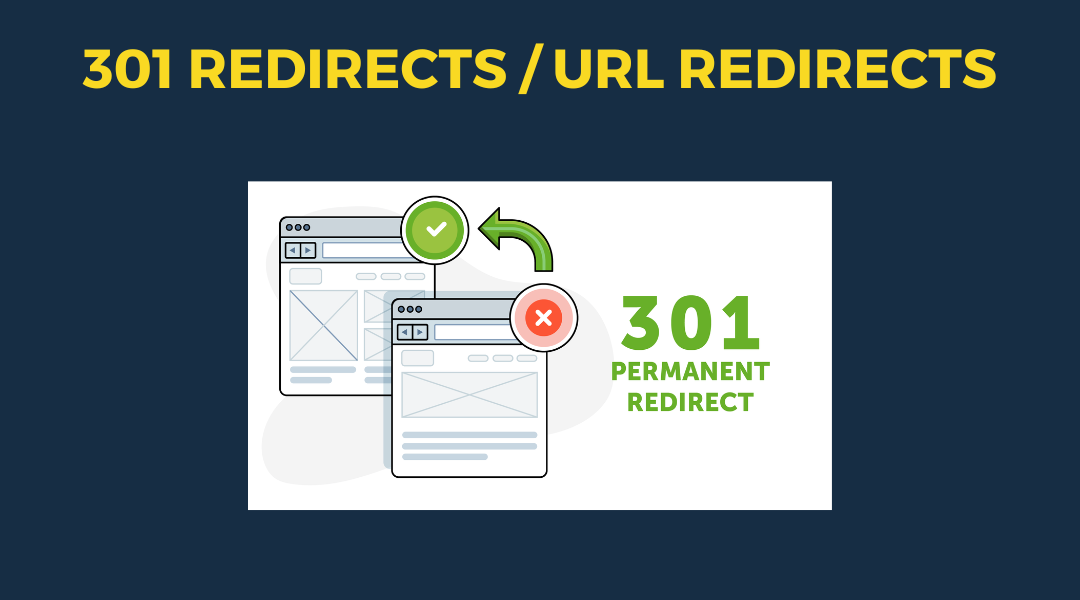
A 301 redirect: guiding web traffic to a new destination with a permanent, virtual "follow me" sign.
This Post has moved to The Hibu One Spec Site

This setup provides clients with a lightweight, SEO-optimized, scalable way to showcase inventory using the blog feature. It requires design discipline, metadata precision, and clear client education to function effectively. Restores client-side flexibility after the removal of manual page creation capabilities